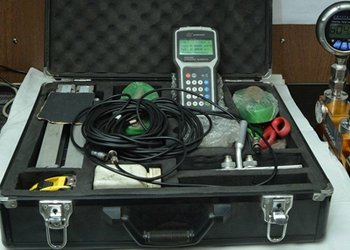
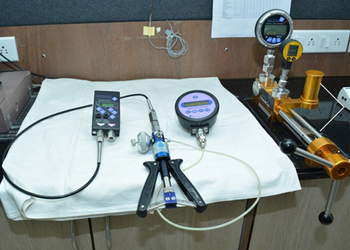
Calibration is a comparison between a known measurement (the standard) and the measurement using a Device. Ideally, the accuracy of the standard should be ten times the accuracy of the measuring device being tested. However, an accuracy ratio of 3:1 is acceptable by most standards organizations.
Every measuring instrument is subjected to ageing as a result of mechanical or thermal stress and thus delivers measured values that change over time. This cannot be prevented, but it can be detected in good time by calibration. What is the difference between a calibration and verification? and when one needs to carry out an adjustment to the instrument? Answer is simple as long as drift is within 1/3 rd to ½ of the permitted limits instrument can still be used. Moment it drifts beyond ½ the permitted limits, if feasible adjust it to bring back the performance to near to the original specification.
This is a skilled work and requires appropriate tools and sophisticated measuring standards and should not be undertaken in random manner.
In the process of calibration, the displayed value of the measuring instrument is compared with the measuring result of a different measuring device which is known to function correctly and accurately, and which itself has been made to coincide directly or indirectly with a national or international reference instrument (standard). If the result of the examination is within the manufacturer's specifications, then a calibration certificate will be issued with the corresponding confirmation.
One talk about verification when the calibration has been carried out by respective specialist and in between you need to ensure results displayed are adequately satisfactory. Calibration and verification both of these variants are purely intended for determining the quality of the displayed values. In this process there is no intervention to the measuring instrument. Whereas in case of adjustment it is understood that there is an intervention to the measuring device, in order to minimise a detected measuring deviation. Typically, adjustment is followed by a further calibration, in order to check and document the final state of the measuring instrument following the intervention. In contrast verification, will lose its validity after a period of time set. The validity period of a calibration is subject to practical specifications such as manufacturer's instructions, requirements of a quality assurance standard or in-house and customer-specific regulations.
The lab is manned by Anuja Zanpure and Mukund Zanpure
She has 25 years rich experience. She is a M. Tech in Quality Management Systems from BITS (Pilani).
He has an excellent academic record and an innovative acumen and has capacity to find engineering solutions
They have rich experience as NABL assessors
They have an international experience to help and develop a laboratory


